Wednesday, February 10, 2021

Baby, It's COLD Outside

Entering a new challenge this week: LESS IS MORE! Colour Challenge. #436 Chocolate. I used a few stamp sets to create this front panel. The Challenge is: to mostly use the color Chocolate.  The first thing I think of is Hot Chocolate.  Especially when it is -5 F today up here in Northern IL.


I stamped using all Momento Ink- Rich Cocoa. I love this stamp set by Colorado Craft Company- inspired by the Childrens' Book, Guess How Much I Love You, illustrated by Anita Jeram. This stamp set is called Wishing You Happiness

The hot cocoa mug and the sentiment came from a Newton's Nook Stamp set called Frozen Friends. I stamped and fussy cut the Hot cocoa mug and added it with dimensionals. Last, I grounded the scene by drawing a line using thin black sharpie- couldn't locate my brown Sharpie.

I am planning on sending this out to my Mom for Valentines Day, so I added a little to the inside. With over a foot of snow and the temperatures staying in single digits, I don't think the snow will be going anywhere, anytime soon.  I'm sure not many of your Valentine's have snow images adorning them.


Last but not least, I always dress up the Envelope. The flap matches the inside of the card, but the front of the envelope has a cure little snowman.  I think mom will love it! 


Card Recipe


 Standard Tent Fold design 8.5in x 5.5 in card, scored at 4.25
Front panel stamped on white card stock 5in x 3.75in.

Ink: 
Momento Rich Cocoa
Stamp Sets:
Wishing you Happiness By Colorado Craft Company, Frozen Friends by Newton's Nook
Techques:
Stampin' Blends to color: Light Crumb cake and Dark crumbcake, bronze and Light Pool Party, Light Real Red
Dimensionals to pop up the front panel

Sunday, February 7, 2021

Hello

I wanted to stick with the same idea and use similar products as the last post, but different colors.  I am enjoying the brightness of Bumblebee from this year's SU!  In Colors. 

I am in a monthly Card making group and our challenge for this month is to 'Banish the BLAHS!' The card cannot have any black or grey on it.  I think this does the trick. 

 I had a couple of different versions- some I used a strip of vellum to soften the die cut, others I completely left the vellum off.


Here I used paper from Artsy Blooms DSP.  I embossed using SU! Tasteful Textures Embossing Folder.  I think you can really see the embossing on the image to the right.  I also used the Artsy Blooms DSP when I cut out the green wreath to get some variations in the leaves.


Card Recipe:

Card Stock Colors: Bumblebee(SU!),
DSP: Artsy Blooms(SU!)
Die: Etched Eucalyptus Wreath (SimonSays Stamp!) hello die cut (old, unknown)
Embossing Folder: Tasteful Textures


PRO TIP:

Try using an embossing folder on the flap of an envelope.  I have received so many comments about the texture- people are loving it


Wednesday, February 3, 2021

In Good Taste

Global Design Project #277

I am joining the Global Design Project this week. I love this week's color challenge: Blushing Bride, Rococo Rose, and Sahara Sand. 

This DSP paper from Stampin'. Up! In Good Taste really looks like it has texture, but it is a smooth as paper.
I love this Eucalyptus Wreath.  It's subtle enough to not over power any design.  I cut a few out and then chose a few Rococo Rose single leaves and glued on top. All this was added to an 8.5 x 11 inch card, scored at 4.25.


Card Recipe:
Card Stock Colors: Blushing Bride(SU!), Rococo Rose(SU!), Sahara Sand(SU!)
DSP: In Good Taste (SU!)
Die: Etched Eucalyptus Wreath (SimonSays Stamp!) hello die cut (old, unknown)


Saturday, January 30, 2021

Gel Press

I have been having a lot of fun with my Gel Press.  Not that I don't have TONS of my own DSP Stampin' Up! Paper. It's just I enjoy combining the colors and creating some beautiful backgrounds.  I'll link a few videos from people who know more than I do about Gel press.  
I did find that I have more success with Acrylic Paint rather than ink or ink pads.  Acrylic paint is a lot cheaper and I didn't feel guilty when I continued to add it to the mix.
I hope you enjoy the samples below and find inspiration to make your own. I even did up the envelopes.  I'll tell you about a little trick at the end of the post.


For envelopes: Use a sticky note cut into a rectangle to cover up the area for the address


I still have tons more prints left.  I cut a few down, but left others on their full paper until I know what i want to use them for.


Some videos that I learned this process from:


Let me know if there are videos that have given you some great Gel Press inspiration or tips.
Biggest tip= HAVE FUN!!! 


Monday, January 18, 2021

A Touch of Ink


This is such a fun card design I made for a friend of mine.  I used the free Sale-A-Bration stamp(2021), A TOUCH OF INK to make an interlocking gatefold card.  This is a beautiful 2-step stamp set that has the feel of water colors. This idea was inspired by Jennifer McGuire and you can watch her entire tutorial with a variety of different sizes here.

For my card, I started with 4 1/4 x 11 inch piece of Purple Posy cardstock. I scored 2 3/4 from each end.  I used Stampin' Up! Rectangle Stitched Dies.  I did cut out 3 stitched rectangle for the piece on the left side to give it stability.

For the inside I just stamped a simple sentiment- any stamp will do.

I finished off by finding a matching envelope and stamping it. 

This set is just stunning.  I didn't fall in love with it util I actually began using it and seeing it fro myself.

If ordering from Stampin' Up! and you do not have a demonstrator, please add my name as your demonstrator before ordering.  I would love to help support you in your paper crafting adventures.

Pro. Tip:

Stamp your envelopes. If you are going to the trouble of mailing a card to someone, let the excitement and enjoyment begin before they even open the card. I used the Touch of Ink stamp set for the hummingbird, but I also used the sponged dots in this same set for the border of the card.


Products:


Saturday, January 9, 2021

WOW! Been Awhile

HAPPY NEW YEAR!!


I know I have been absent from my Blog for many months. I have continued stamping and crafting, however I also started another Master's Degree.  After teaching for 25 years I am working towards my Principal Master's Degree.  This has really taken a lot of me.  I am thankful for stamping and crafting as it is my therapy and this year we all need to find something we can do to bring us peace. 

 I will try to be a little more active in 2021.  Not only for those who visit, but for myself.  I really enjoy looking back at my designs and projects.  

Pro. Tip:

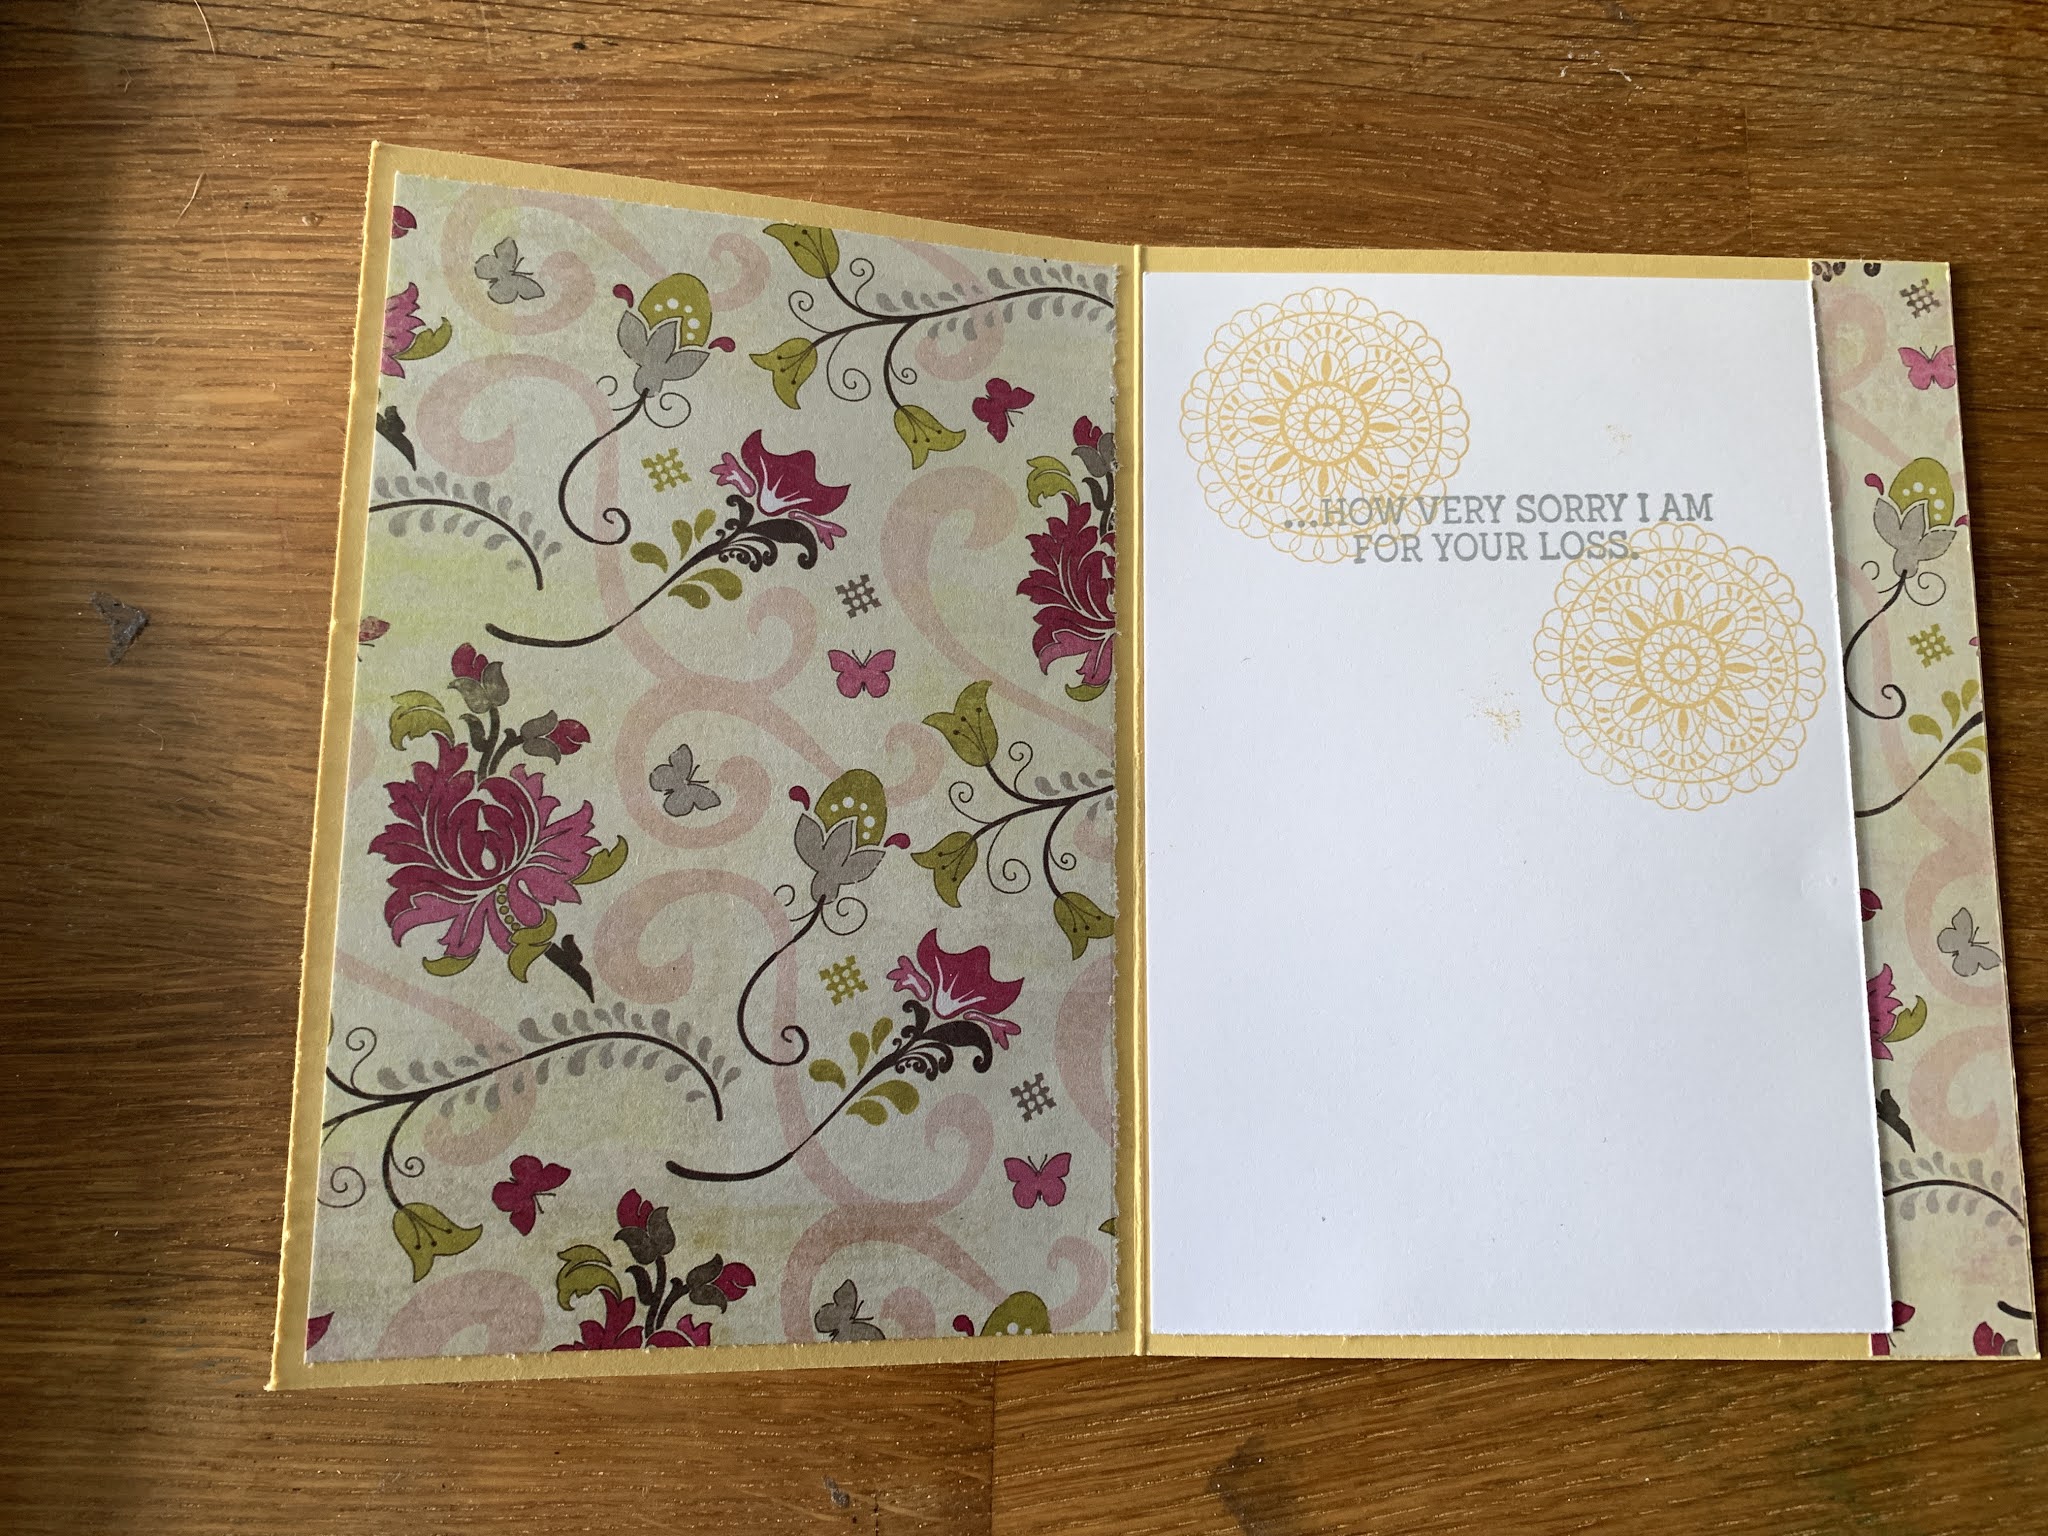
Do you ever get stuck?  You just got a new stamp set, or paper, or tool and you want to make a card.  Sometimes you just can't get started.  It's like writing a paper.  All you need is that first sentence and you are off and running. When I get stuck I will sometimes go back to a 'tried & true' design to get me started. One of my Go-to designs from Connie Stewart . Thanks Connie for always giving me a jumping off point. Here it is using any DSP paper, any cardstock color that matches, and any sentiment.
 
This is your basic 5.5 x 4.25 card with 1/2 inch trimmed off the front right and a strip of DSP placed down.
 Then, on the inside flap the rest of the DSP paper is added and some white cardstock with the sentiment added to the inside.


Some other projects I've finished, lately:


This next one, I used the Quite Curvey Dies and Stamp set and sent my Customers a HTnak you card with their new catalogs.  If you are interested in ordering products from Stampin' Up, please reach out and I will get you a catalog.  You can also go directly online to the Stampin' Up! website to see it all there, and order.  Please use me- Suzanne Dekorsi as your demonstrator and you will receive updates from me throughout the year.


I will post more about this project, later this week.  I have a great tip to make sure you are not dealing with all those little pieces when you use your die cutting machine.


Monday, July 27, 2020

Poinsettia Place

POINSETTIA PLACE SUITE COLLECTION | Item 155109 | $94.00
Nothing says classic Christmas like the Poinsettia Place Suite Collection. Create seasonal blooms that embody elegant beauty in a traditional color scheme.


Let me know if you are interested.  Holiday Catalog coming soon!!!


BONUS DAYS!  July 1 – August 3.  EARN IN JULY.  REDEEM IN AUGUST!
  • For every $50 (on a single order, price before shipping and tax) you spend between July 1 – August 3,  you’ll earn a $5.00 Bonus Days coupon that you can redeem between August 4 -31, 2020.