You can't go wrong with Stamping' Up! Peaceful Poppies Suite from Pgs. 24 - 27 in the Mini Jan. - June catalog!
This card was made using mostly paper and the Peaceful Poppy Elements product number: 151327 for only $6.50
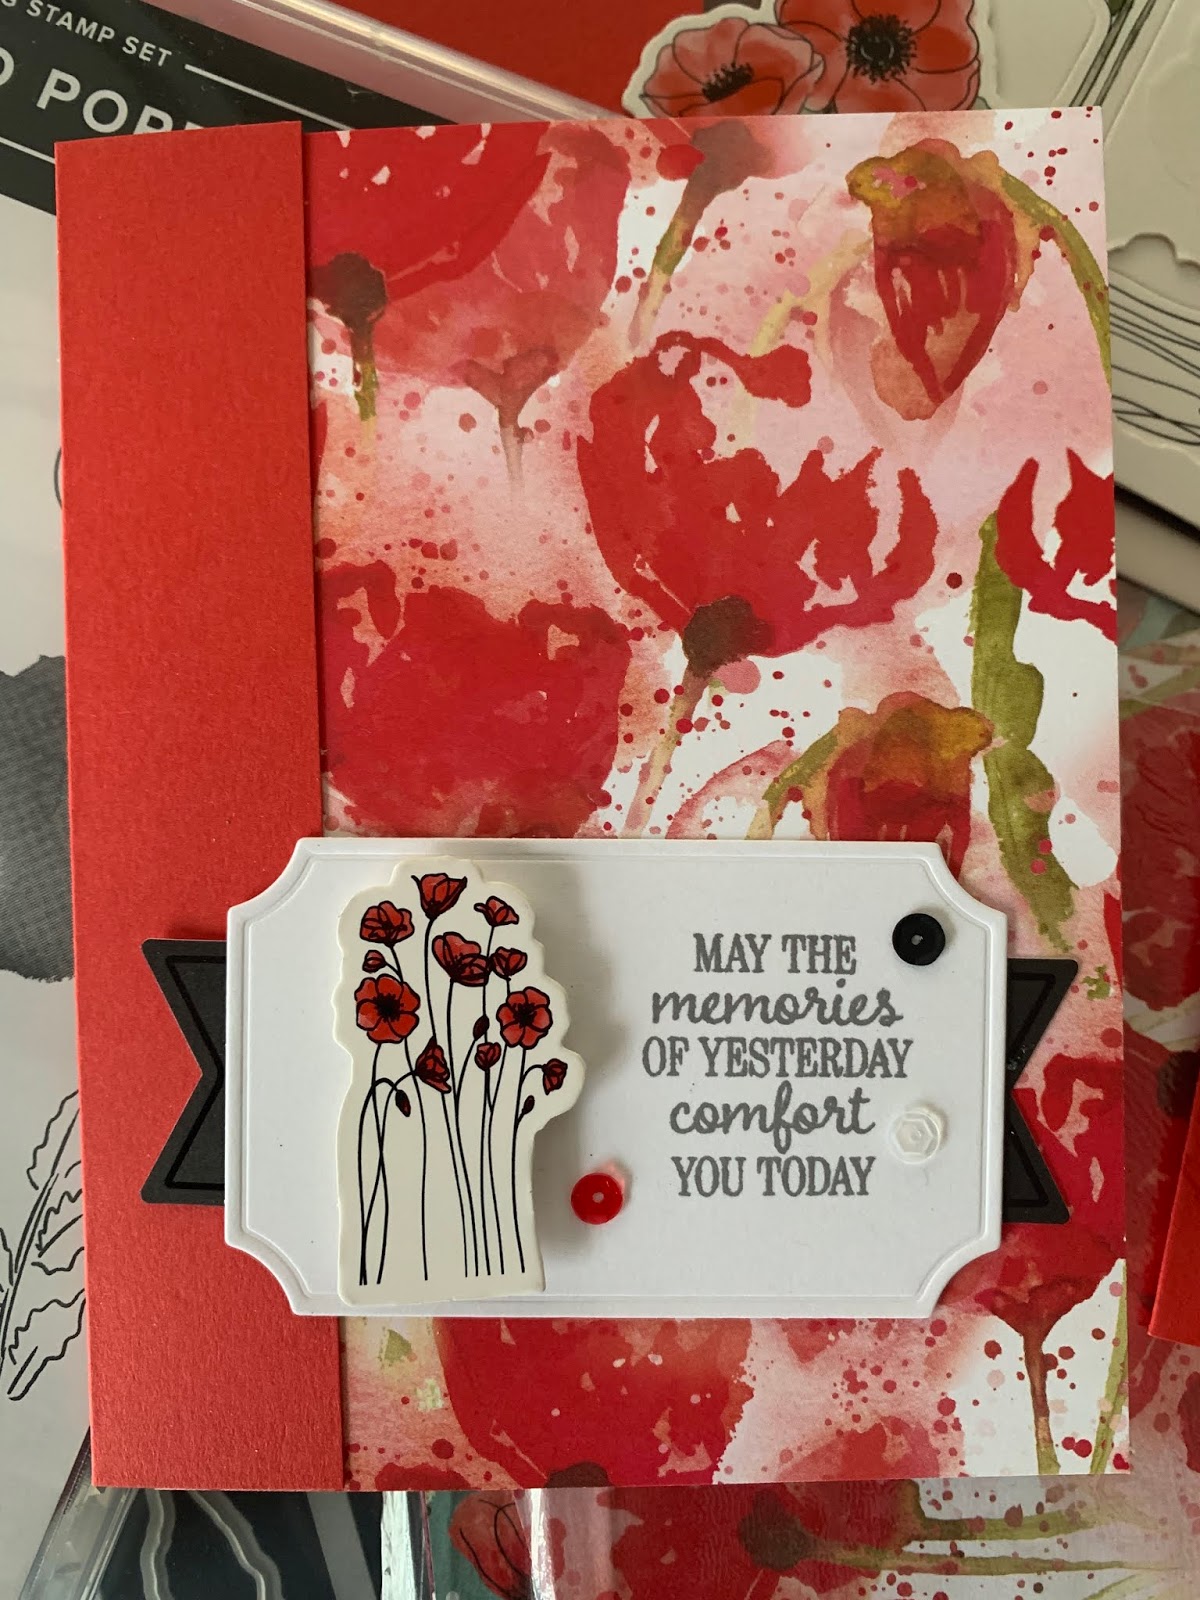
I know the calendar says it's officially spring but the thermometer reads as it's still February. Use some Poppy Parade Cardstock to coordinate with the Peaceful Poppy Designer Paper 151324 and you have a bright springtime card!
I used a sentiment from Timeless Tulips here. I will be posting a project from that set, tomorrow.
The Basic Gray149165 ink used for the sentiment is a little softer than harsh Basic Black can be. I also used Peaceful Poppy Sequins to add a little bling.

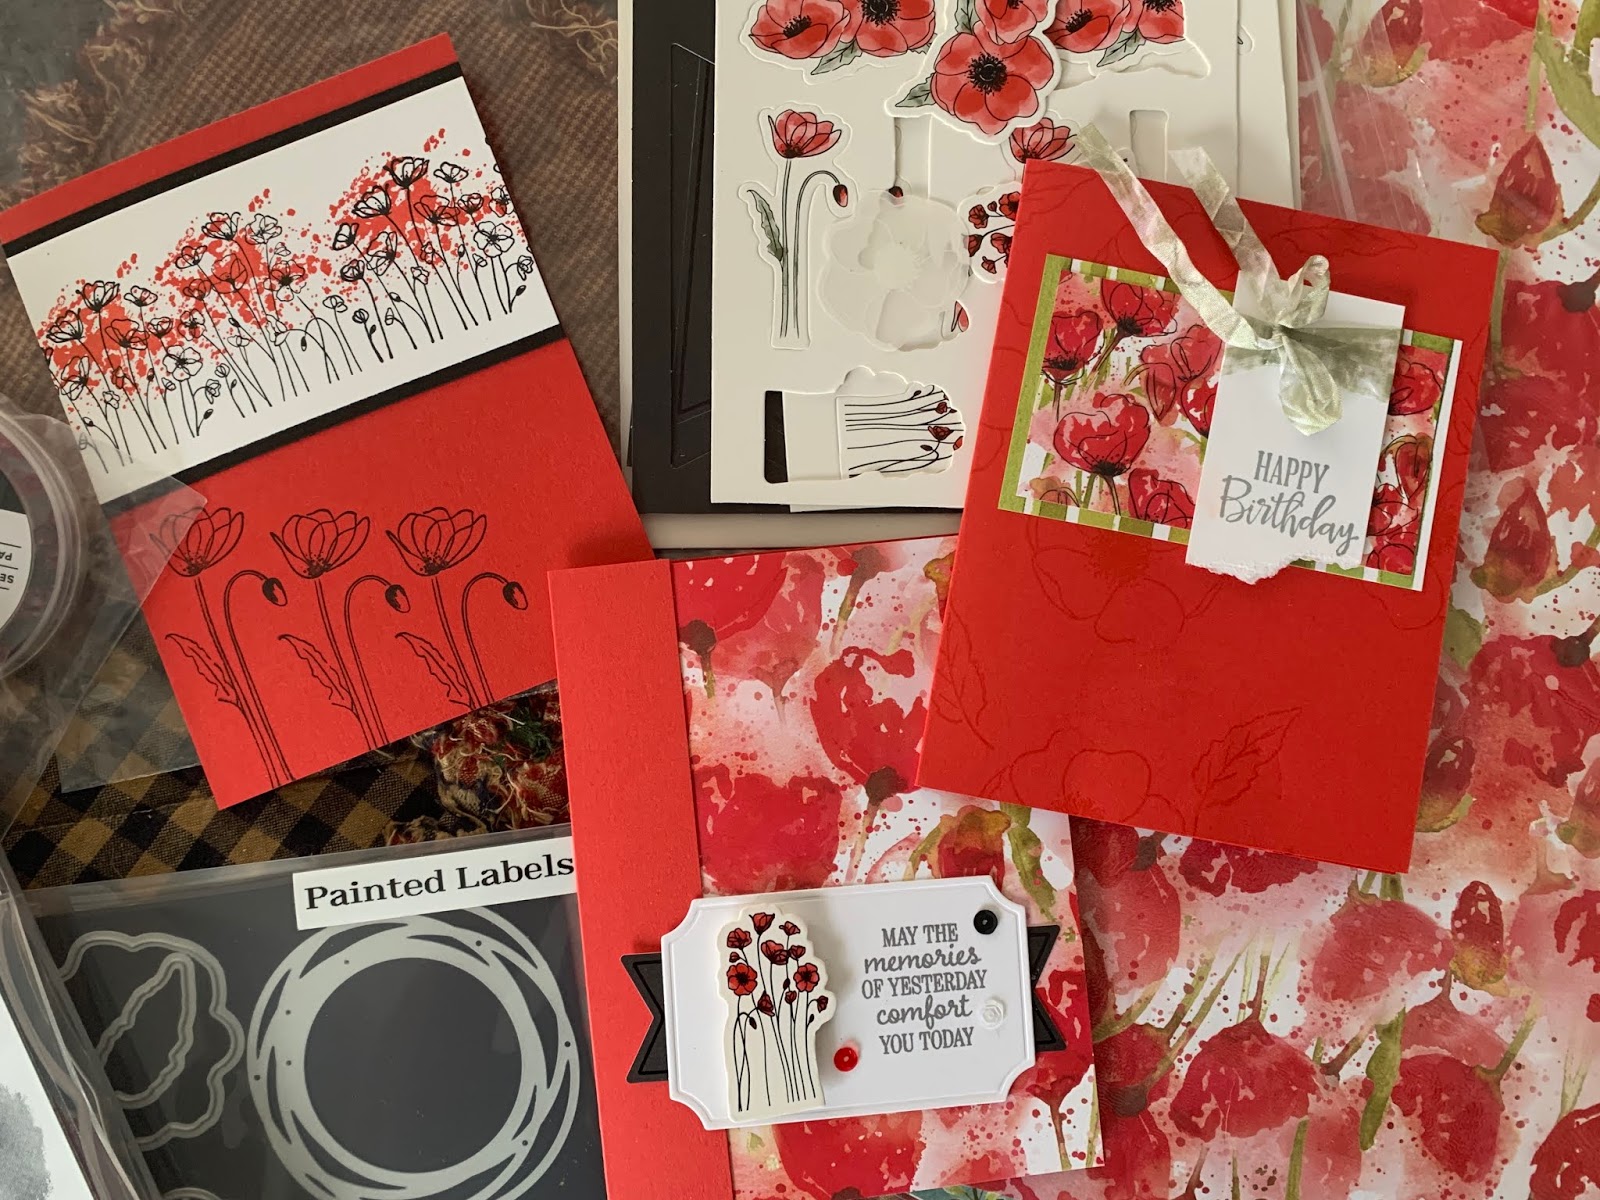
Peaceful Poppy Elements: Look at all the elements you get for $6.50. These are all pre-cut and ready for you to add to any project. They just add a little something extra- especially for those of us who don't have a lot of little doo-dads hanging around to embellish our projects.
For the Inside, I used the Painted Poppies Stamp Set 151599. The Ink splatter stamp makes a great faux sponging technique when stamped along the edge.

STAMPS:
Stamp Set: Painted Poppies 151599
Sentiment: Timeless Tulips
CARDSTOCK & PAPER:
Poppy Parade cut 5 1/2 x 5 3/8, scored at 4 1/2. Peaceful Poppies DSP cut 5 1/2 x 4 1/4, White(SU!) card insert : Whisper White(SU!) cut 5.25 x 4, adhering it to the inside card base using Tear & Tape after everything was stamped on it.
INK:Poppy Parade 147050 & Basic Grey 149165
OTHER: Snail Adhesive(SU!), dimensionals, Tear & Tape (SU!) Simply Scored (SU!) Scissor snips TECHNIQUE: First, I cut all the card stock and DSP. Fold the Poppy Parade Card stock on the scored line and adhere the DSP paper the the inside. Then I stamped my message to one of the die cuts from Peaceful Poppy Elements and layered it on top of the dark tag from the Peaceful Poppy elements. I adhered it all to the card front and then added another Peaceful Poppy Floral element using dimensionals. I also placed a few Peaceful Poppy Sequins on the front. I stamped the White Cardstock along the edge with Painted Poppies Large Paint Slatter- half on-half- off the paper with Poppy Parade ink. I also added The Poppy from the same stamp set along the left- hand side. StLast, I centered and adhered the white card front to the base.
Products available at my Stampin' Up Store: Remember, through the month of March, for every $50 of product you purchase, you get free items from the Sale-A-Bration catalog. Order and get everything delivered to your house use Hostess code: 7ZPAKZ3F
Look what else you can make with this amazing suite:
Love what you did on the inside of the card! I love decorating the inside almost more than the front! 😁
ReplyDelete